


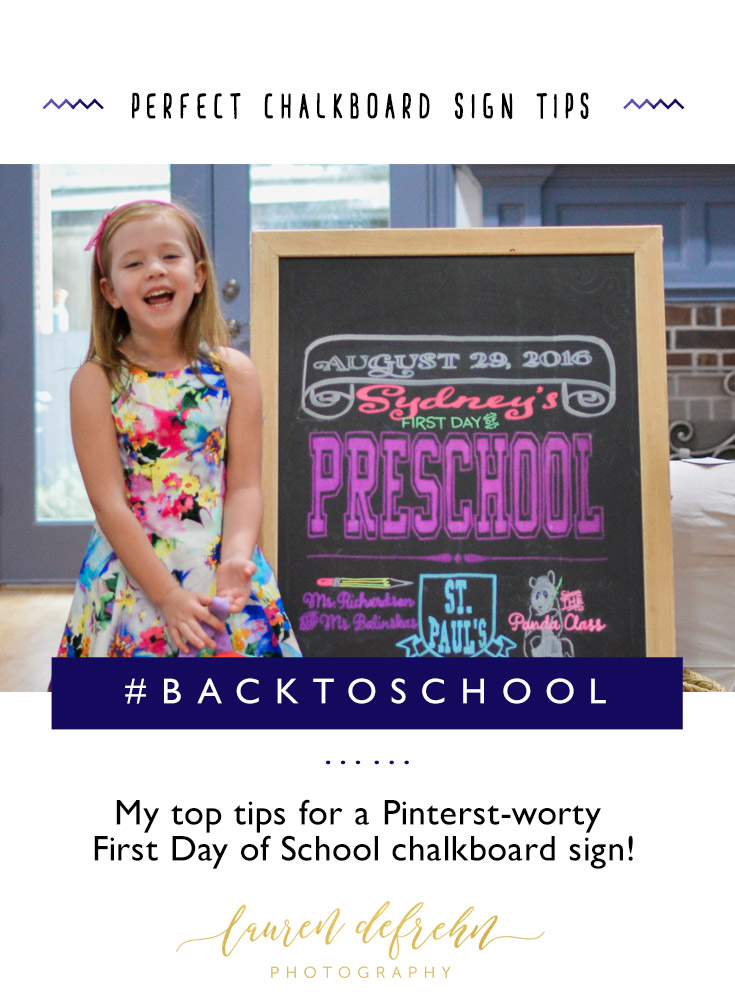
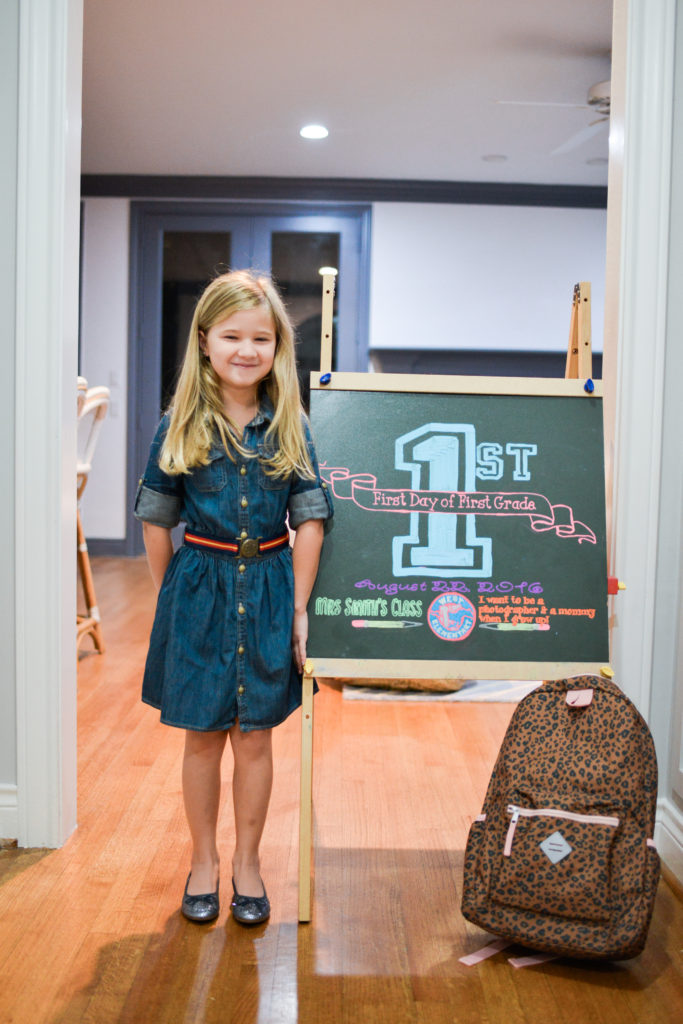
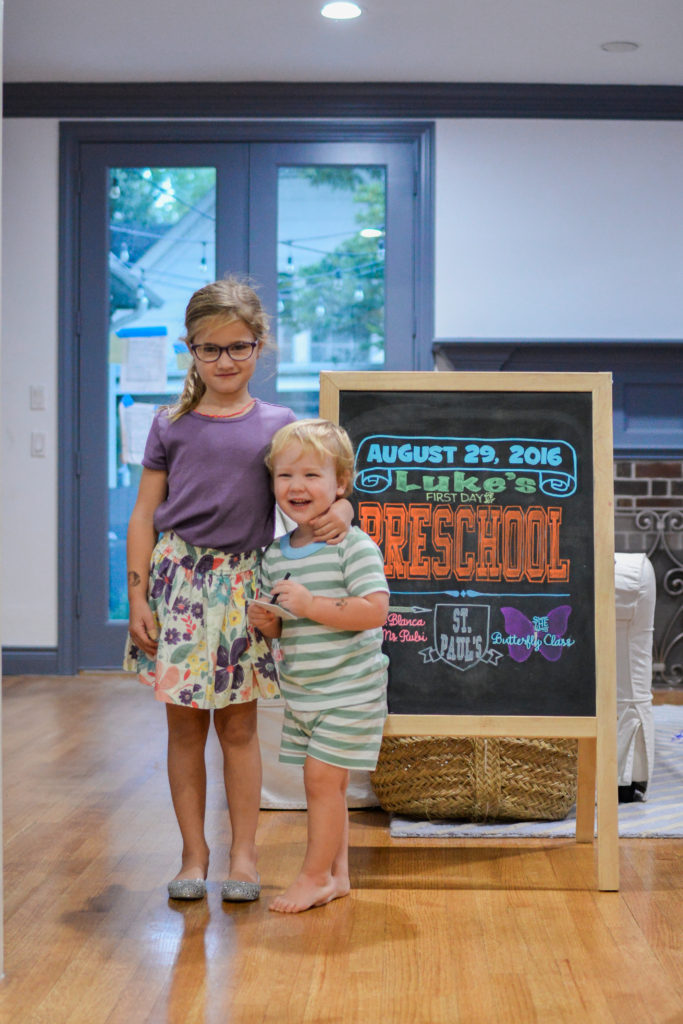
Oh back to school… the time when mom’s inner Pinterest comes out and she is determined that this year, every detail will be totally Pinterest-worthy… matching backpack and lunch box… the perfect first day outfit… fresh back to school hair cuts… and, of course, the perfect back to school chalk board sign…
But how many times have you stared at the chalk board thinking “how the heck do people make these things so cute?” only to toss the chalk down and move on?
Well, if you have gathered your supplies together from Part 1 of this post, then you are ready to roll. Here is how I actually create the boards:
Step 1: Design on the Computer
Since I am comfortable with Adobe Illustrator and Photoshop, that is what I use to design my signs but you can do similar things in MS Word or Pages or other drawing programs. And you can always hop on Pinterest and get a template to use. The important thing is really to make your file dimensions match that of your chalk board, so if your chalk board is 11X16, your document should be set to 11X16 as well. If you use a predesigned printable (lots here on my Back to School Pinterest board) then you will want to scale the image to fit your document. The goal is to fill the space on your chalk board.
Step 2: Print your Sign
Now you are ready to print your sign. When printing, you will want to “tile” the design at 100% scale. This will result in having anywhere from 4 to 6 pages print out with portions of the design on each page. Doing this will make your design the exact size for your chalk board (remember, we set your document size to match your chalk board size in step one).
Step 3: Create a “Poster” out of Your Printed Pages
Now you are going to take those printed pages, match up the edges & tape them together to make one large “poster” out of your design. You should see that your design size is matching up to your chalk board sign now, although the actual combined poster will likely be larger due to how printers break the tiles up.
Step 4: Tape Transfer Paper
Okay, so now you have your printed to scale poster of your design and you are almost ready to transfer it to the chalk board. Transfer paper is the real hero of this whole process. You will put the chalk side out and tape the paper to the back side of your design. To save on supplies, I just tape enough for the actual design.
Step 5: Tape Poster to the Chalk Board
The next step is to take that design with the transfer paper on back and tape the edges to your chalk board.
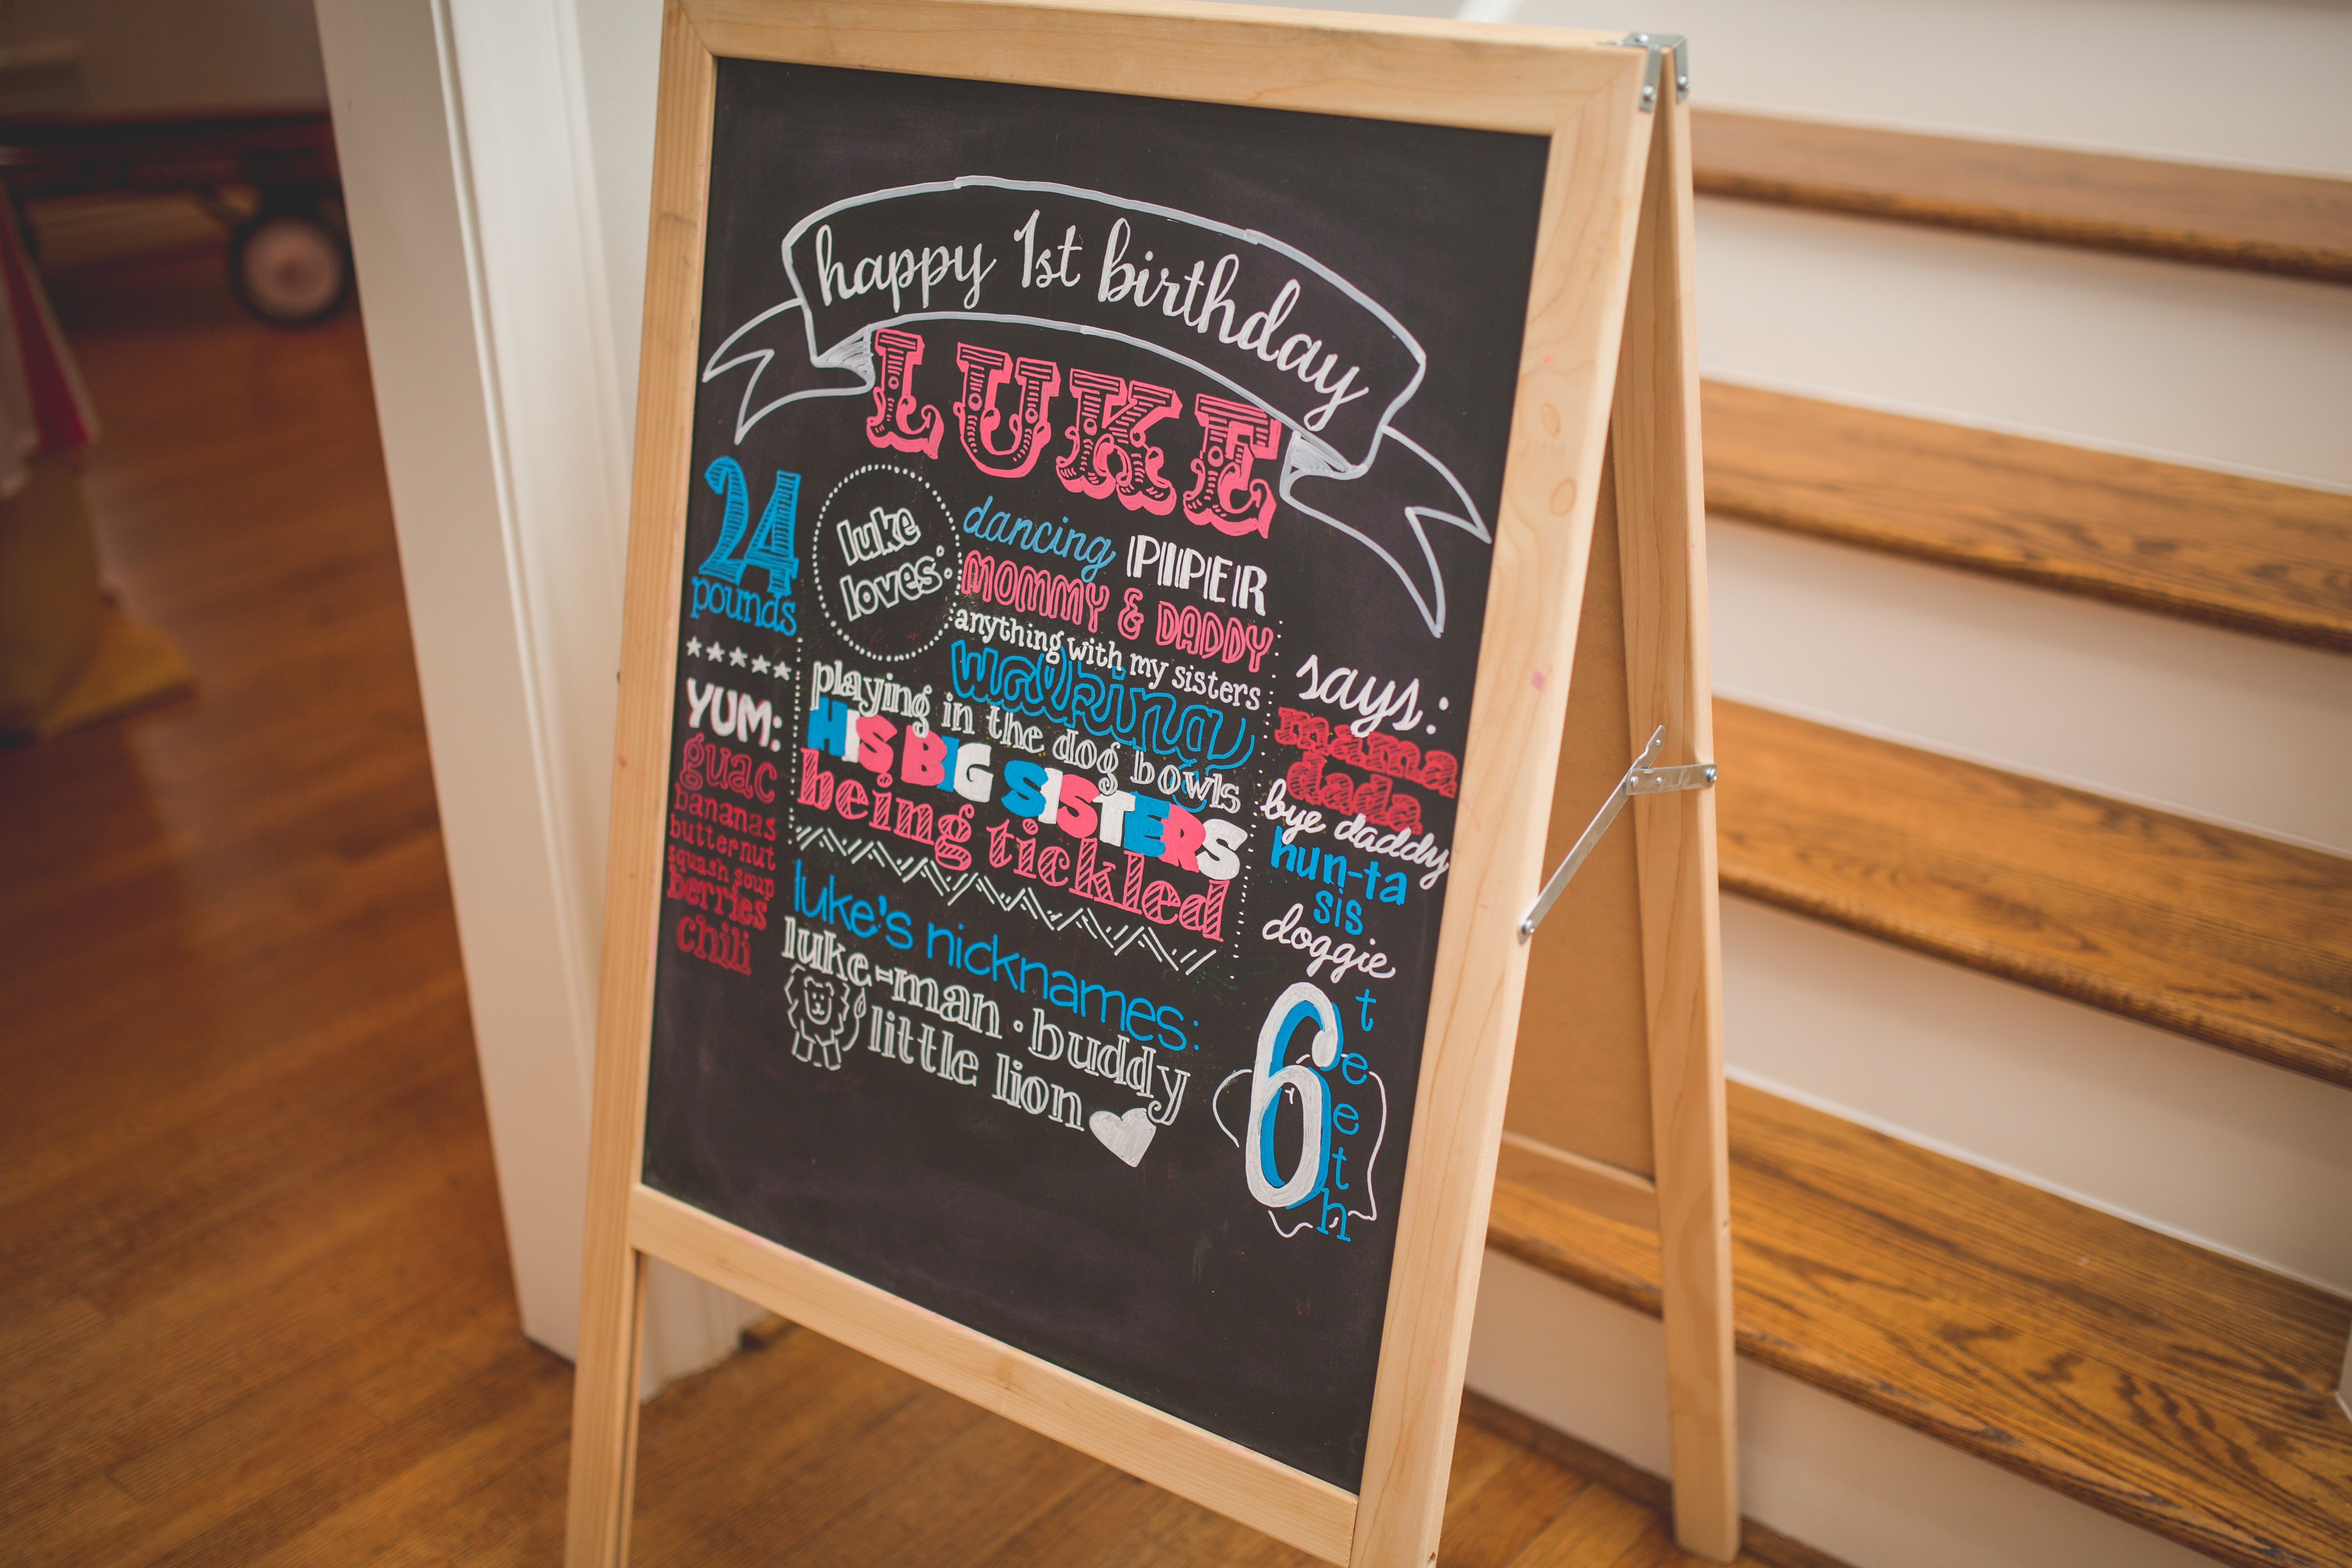
photo credit: Brad Addock
Step 6: Trace Your Design onto the Chalk Board
Now it’s time to get that design onto your board. Trace around the outer edges of each part of your design with a ball point pen or pencil. Be sure to press hard so that the marks create transfer outlines onto your chalk board. When you are done, lift away your printed design to reveal your chalk outline masterpiece. Now I will be honest, sometimes I love this reveal so much that I just stop here and that is totally an option… but I do like things a little bolder for photos, so that take me to the last step…
Step 7: Fill in & Decorate with Chalk Markers
Yay! The fun begins. Now you get to have some fun with those chalk markers and really make your sign pop! You can go all one color, use your school colors or just really mix it up and have fun. The possibilities are endless! And when you are done, you are ready for those Pinterest-worthy Back to School Photos!
Questions? Let me know & I am happy to help! And if you are looking for recs for backpacks that I love, check out this post!


[…] it! So once you have gather your supplies and the hop over to this post for how to put it all […]
[…] seems to be a reflection on life around here lately. The span from Back to School until Christmas is always a wild and chaotic time in our house, but this year has seemed especially […]